For this post, we are going to look at creating a Next.js application and deploying it to Openshift using Openshift Pipelines. While there isn’t really anything Node.js specific in terms of how Openshift Pipelines work, this post goes into what a CI/CD and deployment workflow might look like for a Node.js application.
This post isn't going to go to far into what pipelines are, so if you would like more information on Pipelines, check out the official tutorial here
So the short answer:
OpenShift Pipelines are a cloud-native, continuous integration and delivery (CI/CD) solution for building pipelines using Tekton. Tekton is a flexible, Kubernetes-native, open-source CI/CD framework that enables automating deployments across multiple platforms (Kubernetes, serverless, VMs, etc) by abstracting away the underlying details.
To follow along you will need a few prerequisites.
- First is a running Openshift Cluster, which can be easily provisioned by using the Openshift Developer Sandbox. The nice thing about using the developer sandbox is that it is quick and easy to provision for free, as well as already having the Pipelines operator installed.
- Tekton CLI. This is used for interacting with the Openshift Pipelines we are going to create. We will also use the Openshift Web UI
- Node.js and npm. While these requirements are optional, it will help if you want to follow along and create/run the application locally.
Create the Next.js Application
The first thing we need to do is create the application that we will deploy through our PIpeline. Since we are going to be using Next.js for our example application, we can easily create it using a simple CLI command
npx create-next-app@latestThe CLI command will prompt you for some questions regarding how you want the application created. I chose “nextjs-pipelines” as the name and also decided not to use Typescript, but I chose the defaults for the rest of the interactions.
Here is the git repository with the base application for those who are not following along locally. This repository also contains some kubernetes/openshift objects for deployment that will be used in a later step.
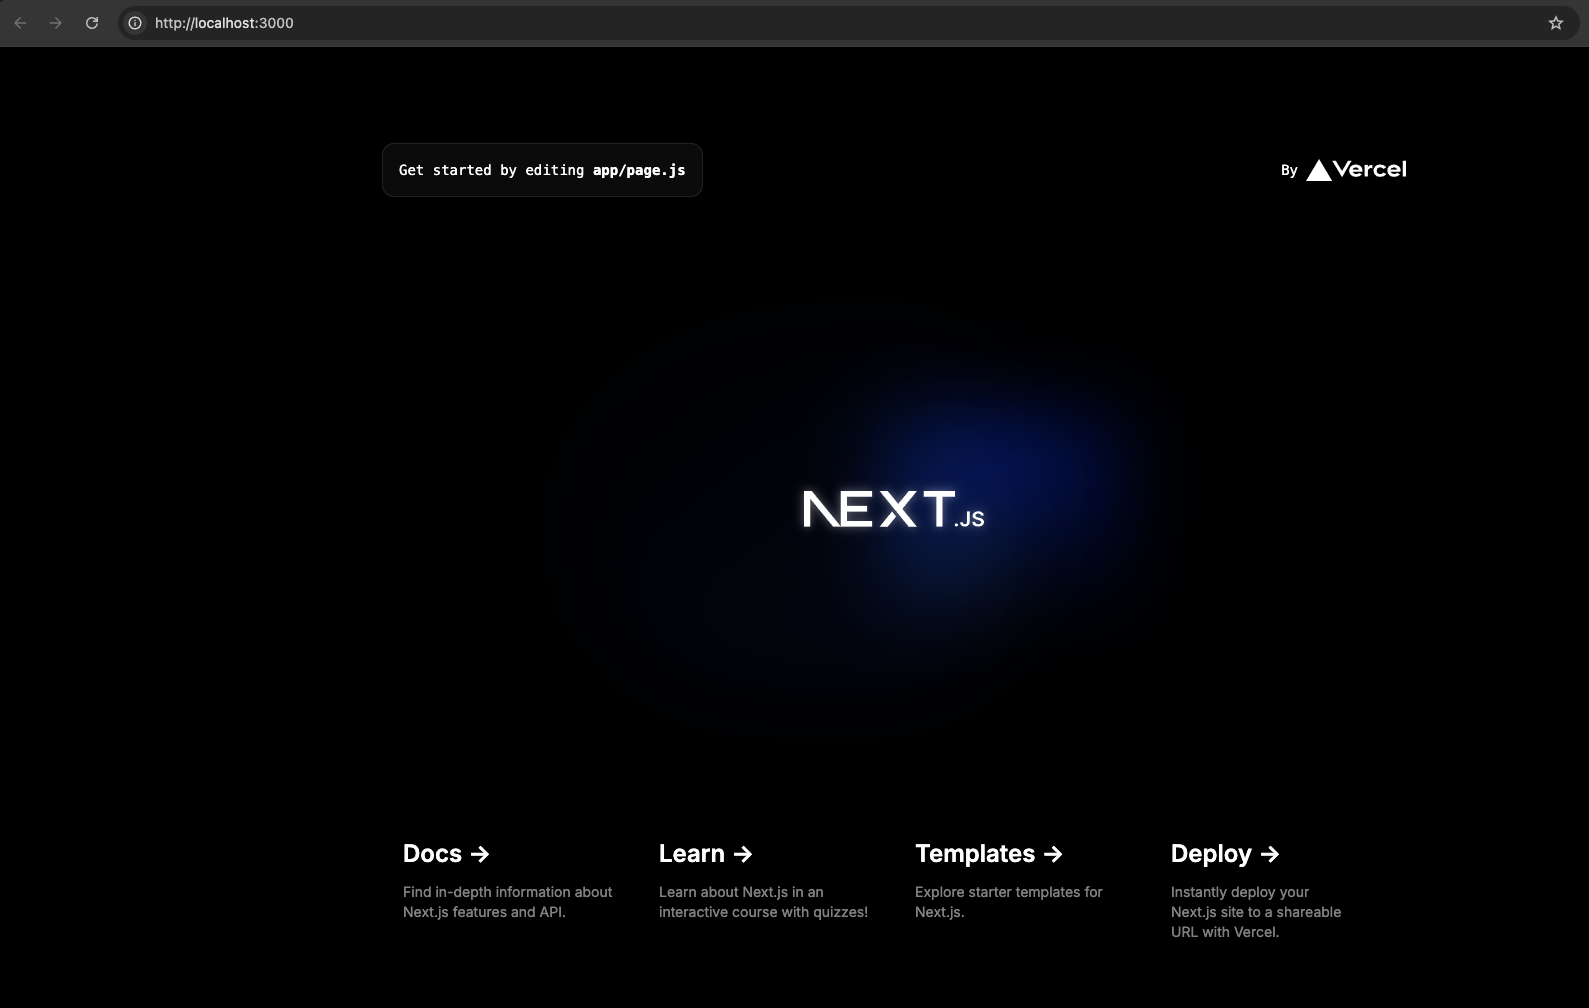
For those who are following along locally, you either created the application yourself or cloned the repository, you can run the Next.js Application locally by running the following the application’s root directory
npm run devThis will run a development server and the application will be available at http://localhost:3000 and should look something like this:
Pipeline Flow
Now that we have an application we want to deploy, we need to set up our Openshift Pipeline. The pipeline that we are going to create should be a workflow that is familiar. It is made up of four Tasks. Note that much of this process comes from this Openshift Pipelines Tutorial . All of the Pipeline related resource yamls used in this post are stored in this repository: https://github.com/nodeshift-blog-examples/nodejs-pipelines
Fetch the source code
In our case, we will specify a repository on github that has the source code for the application we will be deploying. As mentioned earlier, this is the repository we will be using https://github.com/nodeshift-blog-examples/nextjs-pipelines .
Build the application
This Task will build the application from the source code that we just cloned. In our case we will be using the Source-to-image(S2I) process to create a container image that will be stored in Openshifts internal container registry.
Apply the kubernetes/openshift resources
This Task will take any Kubernetes/Openshift resources like a Service, Deployment or Route and apply them to the cluster. For this example, all the resources that will applied live in the “k8s” directory of the example application repository
Update the Deployment
The last Task is to update our Deployment with the latest version and location of our built application container image created in the second Task.
Task Setup
For the first 2 steps we will be using Tasks that are provided by Openshift. The last 2 steps are tasks that we will create.
Let’s take a look at and then create those last 2 steps first. The first one is for applying kubernetes/openshift resources(manifests).
apiVersion: tekton.dev/v1
kind: Task
metadata:
  name: apply-manifests
spec:
  workspaces:
  - name: source
  params:
    - name: manifest_dir
      description: The directory in source that contains yaml manifests
      type: string
      default: "k8s"
  steps:
    - name: apply
      image: image-registry.openshift-image-registry.svc:5000/openshift/cli:latest
      workingDir: /workspace/source
      command: ["/bin/bash", "-c"]
      args:
        - |-
          echo Applying manifests in $(inputs.params.manifest_dir) directory
          oc apply -f $(inputs.params.manifest_dir)
          echo -----------------------------------
Its one and only step is pretty straightforward. Using the openshift cli run the “oc apply” command on any files located in the manifest directory, which defaults here to “k8s”. Notice that there is also a workspaces parameter. This is shared across all tasks and we will see this again.
Create this resource by running the follow command
oc create -f https://raw.githubusercontent.com/nodeshift-blog-examples/nodejs-pipelines/main/tasks/apply-manifests.yamlThe second task, which is for updating our Deployment, looks like this:
apiVersion: tekton.dev/v1
kind: Task
metadata:
  name: update-deployment
spec:
  params:
    - name: deployment
      description: The name of the deployment patch the image
      type: string
    - name: IMAGE
      description: Location of image to be patched with
      type: string
  steps:
    - name: patch
      image: image-registry.openshift-image-registry.svc:5000/openshift/cli:latest
      command: ["/bin/bash", "-c"]
      args:
        - |-
          oc patch deployment $(inputs.params.deployment) --patch='{"spec":{"template":{"spec":{
            "containers":[{
              "name": "$(inputs.params.deployment)",
              "image":"$(inputs.params.IMAGE)"
            }]
          }}}}'

          # issue: https://issues.redhat.com/browse/SRVKP-2387
          # images are deployed with tag. on rebuild of the image tags are not updated, hence redeploy is not happening
          # as a workaround update a label in template, which triggers redeploy pods
          # target label: "spec.template.metadata.labels.patched_at"
          # NOTE: this workaround works only if the pod spec has imagePullPolicy: Always
          patched_at_timestamp=`date +%s`
          oc patch deployment $(inputs.params.deployment) --patch='{"spec":{"template":{"metadata":{
            "labels":{
              "patched_at": '\"$patched_at_timestamp\"'
            }
          }}}}'
Similar to the previous Task, this is using the oc client to run the oc patch deployment command to update our container image to the one we are going to create in the Build the Application task.
Create this resource by running the follow command
oc create -f https://raw.githubusercontent.com/nodeshift-blog-examples/nodejs-pipelines/main/tasks/update-deployment.yamlAfter those tasks have been created, you can use the Tekton CLI to view them:
tkn task ls

NAME                DESCRIPTION   AGE
apply-manifests                   1 day ago
update-deployment                 1 day ago
Pipeline Setup
As previously mentioned, the first 2 Tasks we will use are provided to us by Openshift. It is now time to put all those tasks together and construct our Pipeline. We will look at it piece by piece but the full pipeline can be viewed here. To create the pipeline run this command:
oc create -f https://raw.githubusercontent.com/nodeshift-blog-examples/nodejs-pipelines/main/pipelines/nextjs-example.yamlParameters
This first section specifies the name of the pipeline “build-and-deploy” as well as defines some parameters that we will pass in later. Also notice the workspace parameter. Workspaces allow you to specify one or more volumes that your Task requires during execution. This volume is also shared across Tasks. More details will be provided about each parameter when we run the pipeline in the next section.
apiVersion: tekton.dev/v1
kind: Pipeline
metadata:
  name: build-and-deploy-nextjs
spec:
  workspaces:
  - name: shared-workspace
  params:
  - name: deployment-name
    type: string
    description: name of the deployment to be patched
  - name: git-url
    type: string
    description: url of the git repo for the code of deployment
  - name: git-revision
    type: string
    description: revision to be used from repo of the code for deployment
    default: main
  - name: IMAGE
    type: string
    description: image to be build from the code
Tasks
This next section starts to define the tasks our pipeline will run. As mentioned in the Pipeline Flow section, we first need to fetch our source code and that’s what this task does. This is done with the built-in git-clone task. Notice that this is a ClusterTask which is basically the same thing as a task, but is available to all namespaces across a Cluster.
This task uses some of the parameters we are passing in, like the url of the git repo and what revision(branch) to use. There is also a workspaces parameter telling our pipeline that this task would like to use the shared workspace.
tasks:
  - name: fetch-repository
    taskRef:
      name: git-clone
      kind: ClusterTask
    workspaces:
    - name: output
      workspace: shared-workspace
    params:
    - name: url
      value: $(params.git-url)
    - name: subdirectory
      value: ""
    - name: deleteExisting
      value: "true"
    - name: revision
      value: $(params.git-revision)
The second task that will be executed is the build-image task. According to our Pipeline Flow section, this will use S2I to build our application. Specifically, it uses the built-in s2i-nodejs ClusterTask. It only has one parameter passed in, which is the location of where the resulting container image should be stored. We will see what this value is in the Pipeline Run section
There are two other things to note here as well. The first is that this task is also using the shared workspace. This gives this task the ability to access the source code we just fetched from the previous step. The second thing is the runAfter parameter, which tells our pipeline to only run this task after the fetch-repository task. This section is something we will see again.
 - name: build-image
    taskRef:
      name: s2i-nodejs
      kind: ClusterTask
    params:
    - name: IMAGE
      value: $(params.IMAGE)
    workspaces:
    - name: source
      workspace: shared-workspace
    runAfter:
    - fetch-repository
The last two tasks we talked about while we created them. Again note that the apply-manifests task is using the shared workspace since it needs access to our source code.
- name: apply-manifests
    taskRef:
      name: apply-manifests
    workspaces:
    - name: source
      workspace: shared-workspace
    runAfter:
    - build-image
 - name: update-deployment
    taskRef:
      name: update-deployment
    params:
    - name: deployment
      value: $(params.deployment-name)
    - name: IMAGE
      value: $(params.IMAGE)
    runAfter:
    - apply-manifests
Running The Pipeline
A Pipeline is really just a definition of how and in what order tasks should be performed. It doesn’t become valuable until it is run. Our pipeline can be started in multiple ways and we will see two options.
TKN PIPELINE START
The first is by using the tkn pipeline start command from the tekton CLI. Below is an example of how to specify the parameters needed and start a run of our pipeline
tkn pipeline start build-and-deploy-nextjs \
--prefix-name build-deploy-nextjs-pipelines-pipelinerun \
-w name=shared-workspace,volumeClaimTemplateFile=https://raw.githubusercontent.com/nodeshift-blog-examples/nodejs-pipelines/main/pvc/nextjs-pipeline-pvc.yaml \
-p deployment-name=nextjs-pipelines \
-p git-url=https://github.com/nodeshift-blog-examples/nextjs-pipelines \
-p IMAGE=image-registry.openshift-image-registry.svc:5000/lholmqui-dev/nextjs-pipelines \
--use-param-defaults
Let’s break down what's happening here line by line:
First we are running the command tkn pipeline start and specify the pipeline name that was just created build-and-deploy. The --prefix-name tells openshift the name to call this particular run. Openshift will then append some alpha-numeric characters to the end to make this run unique and re-runnable.
tkn pipeline start build-and-deploy-nextjs \
--prefix-name build-deploy-nextjs-pipelines-pipelinerun \
This next flag lets us define our shared workspace. In this case we are defining it as a Persistent Volume Claim and we are specifying the template file to use.
-w name=shared-workspace,volumeClaimTemplateFile=https://raw.githubusercontent.com/nodeshift-blog-examples/nodejs-pipelines/main/pvc/nextjs-pipeline-pvc.yaml \These last few lines are specifying our parameters. The first is telling our pipeline what the deployment name should be. I usually make this the same name as the application.
Next we specify the location of the git repository we want to clone.
We next specify the IMAGE parameter. This is the location where our built container image should be stored. In our case, we are using the internal container registry that Openshift provides. For those following along, the namespace which is specified “lholmqui-dev” will be different for you, so make sure to change that accordingly.
-p deployment-name=nextjs-pipelines \
-p git-url=https://github.com/nodeshift-blog-examples/nextjs-pipelines \
-p IMAGE=image-registry.openshift-image-registry.svc:5000/lholmqui-dev/nextjs-pipelines \
--use-param-defaults
PipelineRun
We can also create a PipelineRun resource and use that to run the pipeline. Based on the tkn cli command we just ran, this file might look something like this:
apiVersion: tekton.dev/v1
kind: PipelineRun
metadata:
  name: build-deploy-nextjs-pipelinerun
spec:
  pipelineRef:
    name: build-and-deploy-nextjs
  params:
  - name: deployment-name
    value: nextjs-pipelines
  - name: git-url
    value: https://github.com/nodeshift-blog-examples/nextjs-pipelines.git
  - name: IMAGE
    value: image-registry.openshift-image-registry.svc:5000/$(context.pipelineRun.namespace)/nextjs-pipelines
  workspaces:
  - name: shared-workspace
    volumeClaimTemplate:
      spec:
        accessModes:
          - ReadWriteOnce
        resources:
          requests:
            storage: 500Mi
There are two things to notice with this approach. First, we are using $(context.pipelineRun.namespace) which allows us to dynamically choose the namespace we are running the pipeline in, instead of having to remember to change it. Second we specify the definition of the shared workspace directly in the pipeline run file instead of using a separate file.
And to run it, we can just use the openshift cli(oc).
oc create -f https://raw.githubusercontent.com/nodeshift-blog-examples/nodejs-pipelines/main/pipelineruns/buid-deploy-nextjs-pipelinerun.yaml
No matter what way you run the pipeline, the WebUI will look something like this while things are running

And once the pipeline finishes, you should see a familiar blue circle around the running pod.

What’s Next
This post showed how simple it was to use Openshift Pipelines to build and deploy a node.js application, specifically a Next.js application. This is just the first post in the on-going series. Future posts will dive into how you can use Openshift Pipelines to simulate a multi-stage build process, something that the Node.js Reference Architecture recommends.
As always, if you want to learn more about what Red Hat is up to on the Node.js front, check out our Node.js page here.
